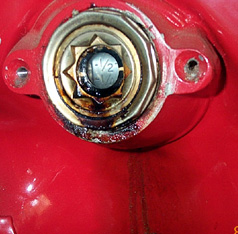
If your gas guage looks like this, please carefully
disconnect the battery and fix it now! I don’t even like to think about
what could happen.
 Sometimes it seems almost impossible to remove the old guage. Either
the old gas has glued the guage in place or a former “restorer” has
smeared some sort of goo on everything to try to stop the leak. 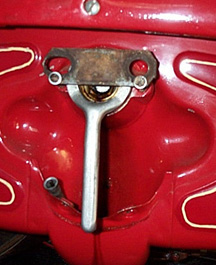 Once things are apart, work on the small nut with the guage in the
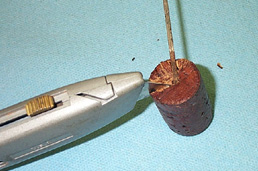
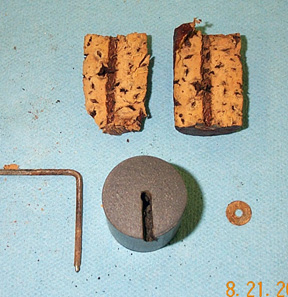
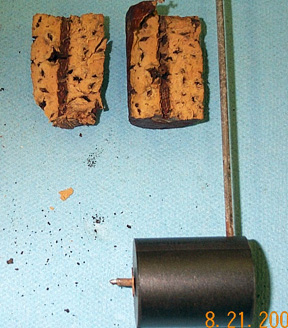
vice. Assemble the inner nut in the vice during the rebuild. 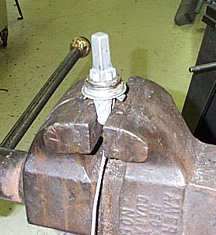 To remove the old cork, just slice off with a razor knife….You were not
planning to save it were you? Before sliding on the new sink proof float, cut a notch so it will
slide on past the bend in the guage wire. This will permit the float to go
on far enough to “upset” the end of the wire after you install the brass
washer. Clean all the threads and parts and try the big nut in the tank before reinstalling the guage. Once the big nut screws in all the way, real easy , you are ready to proceed. I like to use the neoprene impregnated cork gaskets. I use no gasket goop of any kind, just coat all the gaskets and threads with a film of white lube. Never give up and don't say can't. |
Page designed by Jim Mason July, 2007